Sawing wood by hand - and a saw, of course! More wood joy and pain
Wood for free?
I've always liked the idea of using local wood from fallen branches etc and cutting this up and drying it. It is nice to make things from wood and be able to have in your minds eye where it grew. All it takes is some strenuous carrying, splitting and sawing and then waiting a few years and after that you have your own special wood - for free?
Wood sawing woes
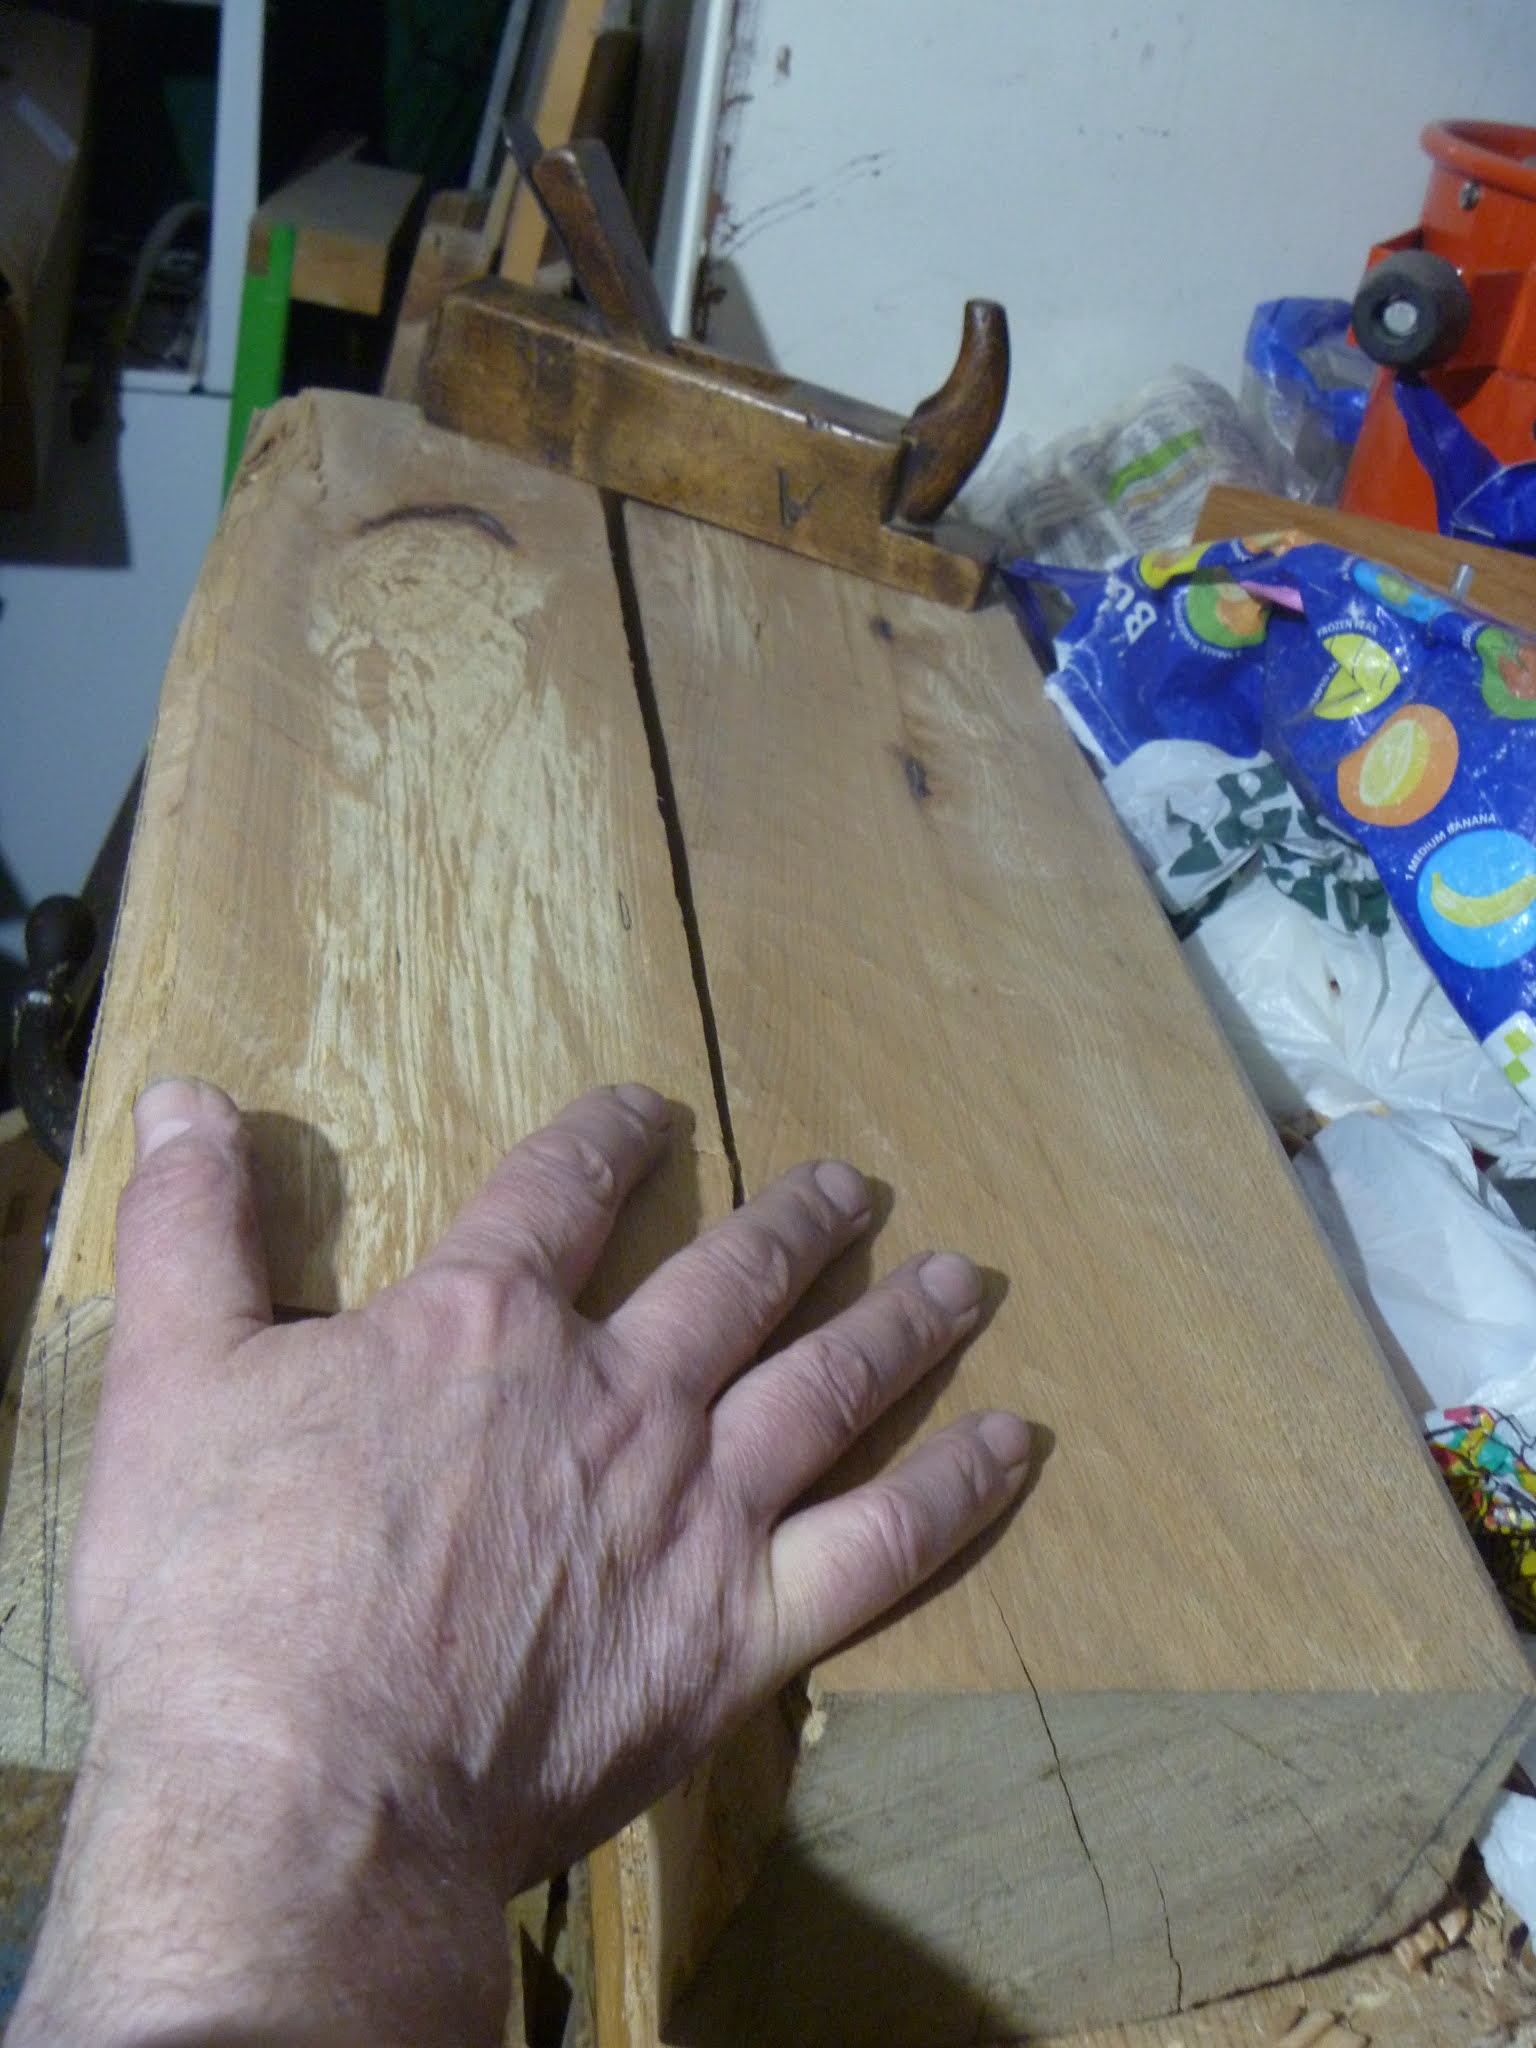
One of the biggest problems I have encountered during my wood gathering activities is difficulty when holding pieces of wood when sawing it into pieces ready to dry or use. Here I am just managing to use an old Japanese Whaleback saw to divide a wide piece of dry sycamore intended for use as an archtop guitar back. My poor old vice is valiantly doing its best but the wood moved around a lot and things are not ideal for me or the poor vice!

Precision Hand Sawing!
In the past veneers were sawn by hand. Here is an illustration of this process from the18th century French treatise on woodworking by Roubo (Image from Wikimedia Commons)

19th of March 2019
Hard 'won' wood for my Vice jaws

Having selected a promising quarter, after some careful consideration I started work, first sawing it in half

Then I started to square the pieces up first with an old ripsaw

21st of March 2019
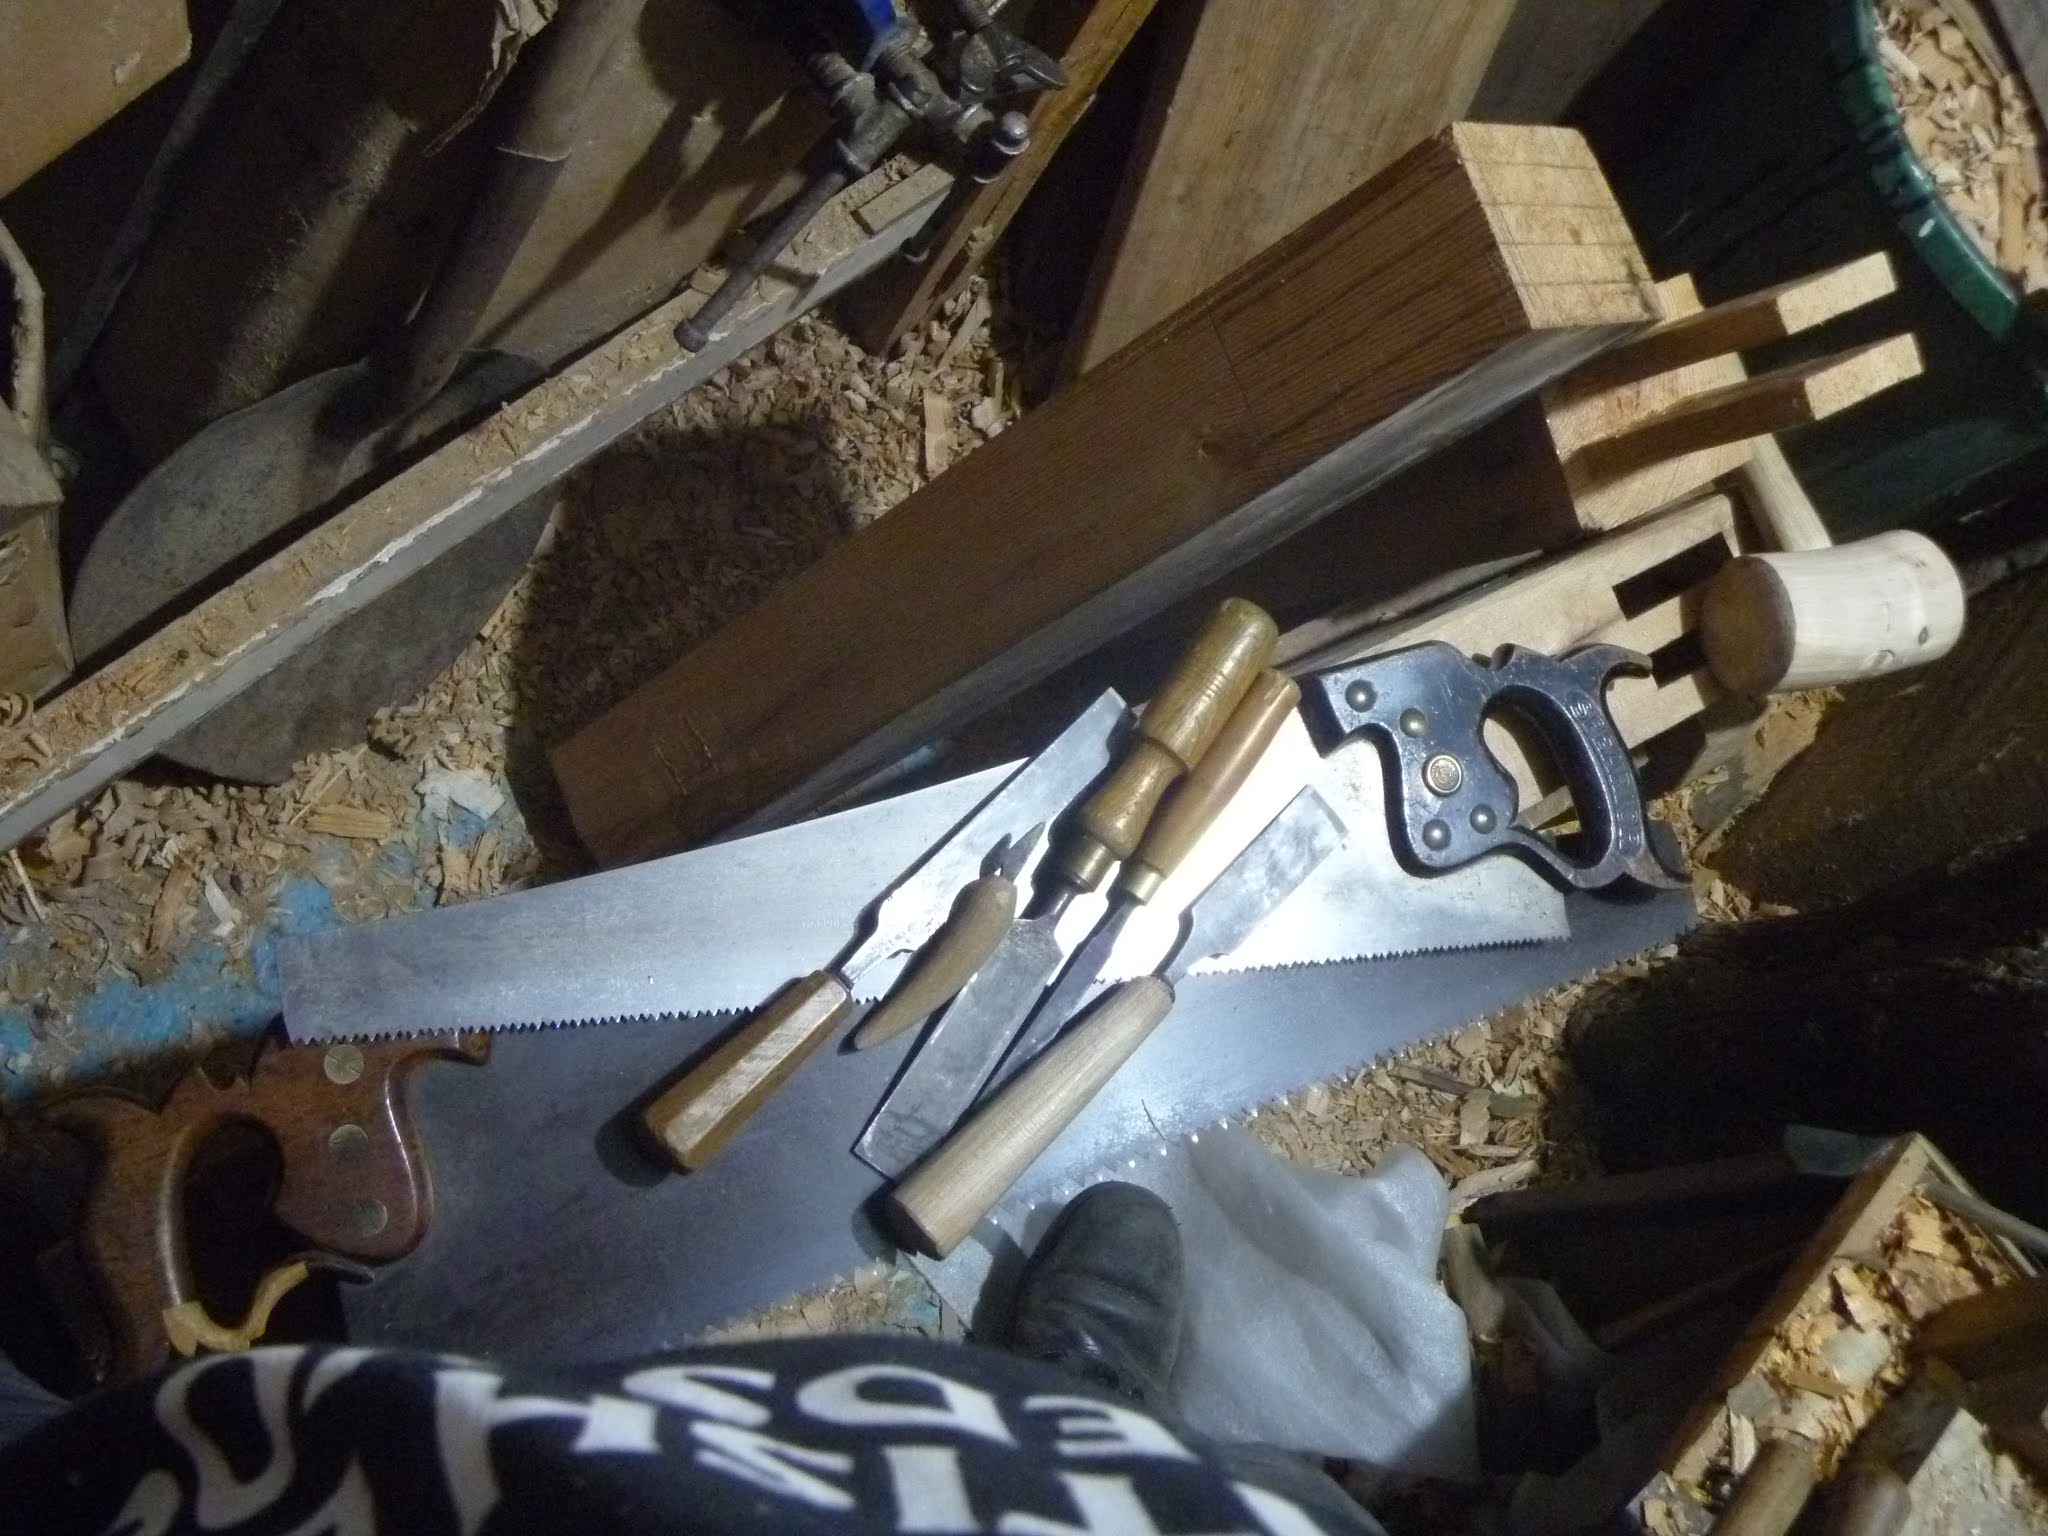
After a lot of sawing, here the two roughly squared vice jaws can be seen along with the saws used and at the right the 'scrap' pieces from the quarter log. I had made up a design which had two large vice jaws, the rear one being longer than the moveable front jaw hence the size difference

22nd of March 2019
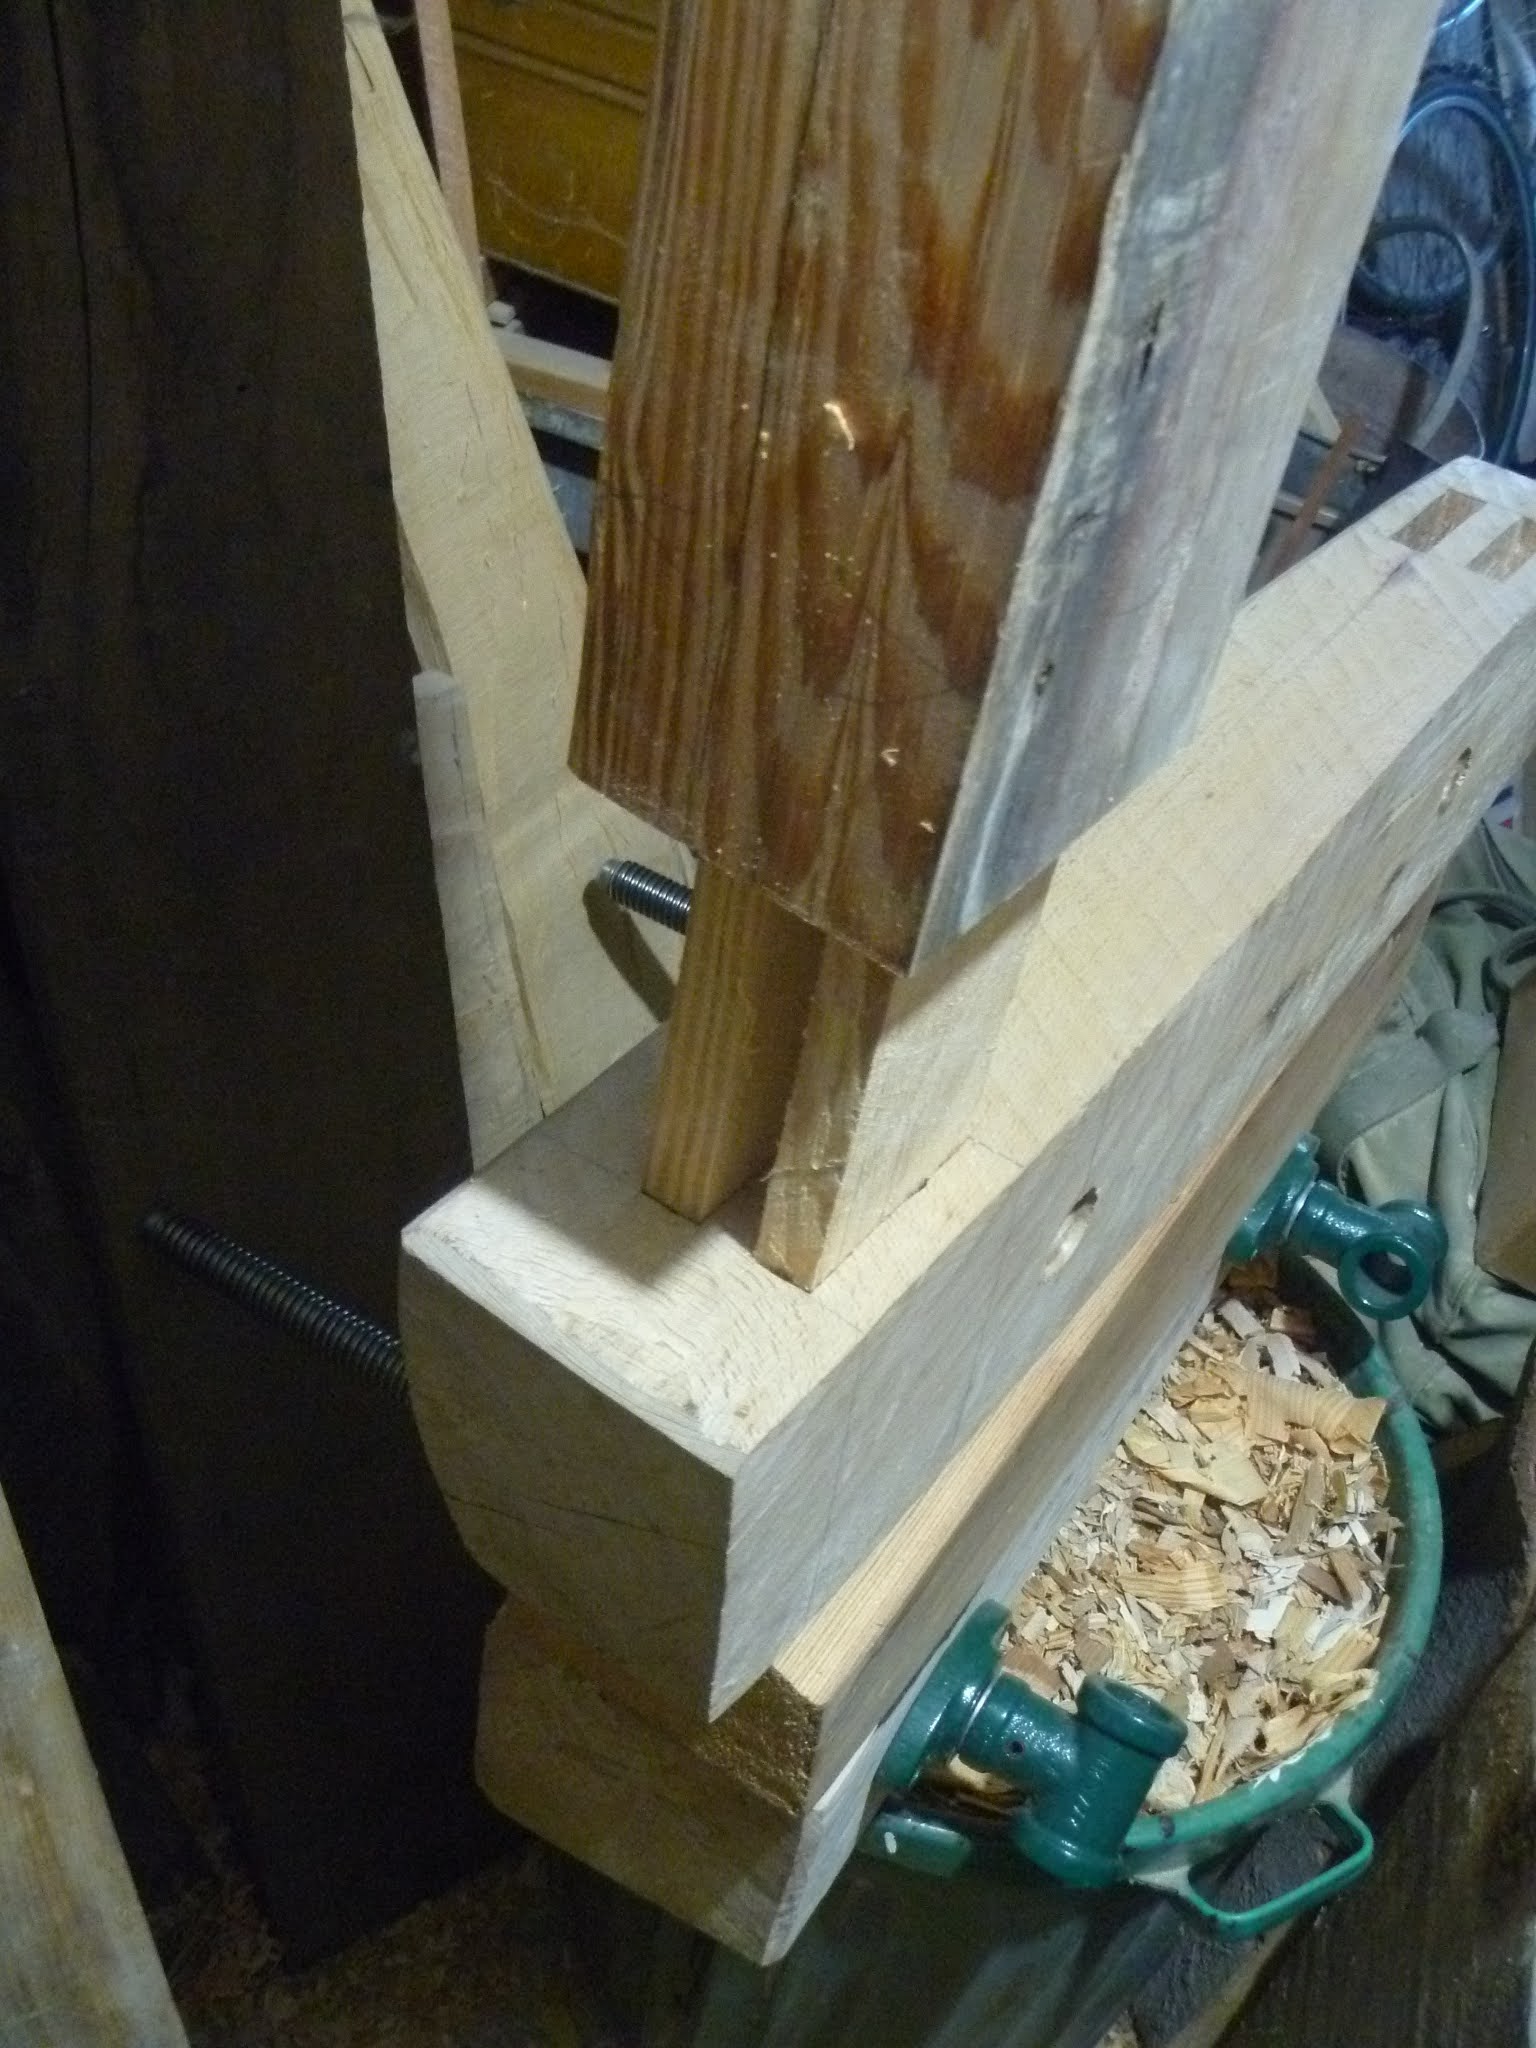
I had a while previously bought some steel and iron vice screws for this project and here I have them lying on the two jaws in an effort to visualise how thing will go together

23rd of March 2019
More work on the jaws with a scrub plane and as this was demoralizingly slow I was attempting to use a broad side axe in the squaring up of these large pieces of hard wood

25th of March 2019
26th of March 2019
Some Axe experimentation

Ambiundextrous Axe Eureka moment?

Here I note that it helps to steady the right or guiding hand (right handed broad axe) by resting the arm on the thigh and that for safety always keep legs out of the the axes swing or path. I read in a book on boat building that if possible when hewing with a broad axe keep the free end of the handle lower than the head and it will avoid the axe swinging towards the legs if it glances off. This seems to work as it tends to direct the swing away from the user. Whatever you do, always work with safety in the forefront of your mind as sharp heavy axes can easily cause injury

After planing off the axe marks I started boring the holes for the vice screws

When boring fairly large diameter holes through quite hard wood the wide sweep "Wagon builders" brace is a great help. Here I have bored the holes through short, front vice jaw and am seeing how the screws look in place. The threaded 'nuts' which go with the screws are sitting on top of the jaw while I consider what I need to do to fit them in the rear jaw

27th of March 2019
Here I have used a large centre bit to bore two shallow holes of a depth appropriate to accomodate the square flange or shoulder on the nuts

I used a smaller centre bit to continue the holes at a smaller diameter to create a stepped hole to accomodate the other part of the vice nuts. I held the nut next to centre bit and used a pencil to mark the depth I needed to bore

Ideally I would have liked to square the wood off fully but I decided it was better to retain as much material as possible to maintain strength, this meant that the holes had to be of different depths. Here the stepped holes can be seen

Now it was time to complete the holes by drilling the holes for the screws to pass through. (This was done last as if it had been done first then the counterboring for the vice nuts, with the centre bits, would not have been possible) The holes were bored until the auger point emerged and then as can be seen here the jaw was turned over and the hole completed from the other side

One of the completed holes

The tools used

The counterboring for the square parts of the nuts then need to be chopped square to fit

After the rough shaping with the gouge a flat chisel completed the job. The gouge has also been used to remove some material from the hole to accomodate the slightly conical form of the circular part of the nut

One of the nuts fitted and screwed into place. To allow for possible wood shrinkage I made the excavation slightly wider than the size of the nut flange

28th of March 2019
With the screws fitted I tightened the screws to bring the jaws together so I could level the top and bottom surfaces. Here I am attempting to speed up things using a large shipwright type chisel or slick

The leveling of the jaws is completed by planing

Testing the partially completed vice, it held this piece of wood nicely

4th of April 2019

I then started to make ends/caps for the wooden tommy bars

Taking a centre-bit of a suitable size, slightly smaller than my rounded sticks, I drilled partway through some small pieces of sycamore


The caps in place, I will glue one on and will maybe use a coarse screw to hold the other on so they can be removed from the vice if necessary

Testing them in place

They should work quite well

16th of April 2019


18th of April 2019

14th of May 2019


16th of May 2019


21st of May 2019


As usual I managed to cut my hand which seemed to indicate it was a good time to stop work!


5th of June 2019


7th of December 2020


Hello, I will add to this blog again sometime but in case anyone is interested, I have been putting my violin making experiments and other woodwork stuff here (see below) for a while
Hans Kipferle's bench (Violin Cobbler) - Contemporary Maker's Gallery - Maestronet Forums


I just cut all the wood up with a chainsaw and then shove it in the fire! Your attention to detail and patience has always amazed me . Happy new year from geoff and family .Keep up the good work!
ReplyDelete