More cooking with wood, time for a Renaissance Cornetto Chop Suey!
Renaissance Cornett Cobbler
I like making things out of wood, 'Early' Music and try to play the cornet so it is natural that I should want to try to make a renaissance cornett. I also think they sound beautiful, like a woody brass instrument? (Listen Here)
Lost in translation!
I have been unable to find any measured drawings anywhere so I am having to cobble together a design from a book I have. When I was at the Early Music Show, near London, a couple of years ago, I asked a stall holder if there were any plans for making a cornett available. He said that there was a very good book but then asked me "How good is your German?" Having noted down the title, I sent to Germany for the book and when it arrived it was a lovely book and reasonably priced but sadly it confirmed my strong suspicion that my German language knowledge was not good! I have had the book sitting there tormenting me for more than a year now so with the recklessness and cheek worthy of a proper violin cobbler, after studying the pictures, making some attempts at translations and because I have no other option, I have decided to try to make an instrument and see how it works out.
Here for your enjoyment is the tune that provided me the title for this post Louis Armstrong - Cornet Chop Suey
4th and 5th of November (either side of midnight)
A picture is worth a thousand words - I hope!

I traced the wrong one so I traced the one I actually wanted below the first tracing. Here I am transferring the shape of the tracing to paper by pricking around the outline, through the tracing paper, with a scriber. The nice German book I have is in view

With this method, while doing my best to be accurate, I do not expect to produce anything like a precise copy of the cornett in the book but I hope that it will allow me to create a useable working drawing to get me started. Here I am joining the pricked dots with a pencil, to create my cornett outline

My tracing was 160 mm long and the real instrument is 602.3 mm long. Below my tracing I have done some calculations needed to enlarge my tracing to full size, I divided 16 into 60.23 to get the scale of my tracing as 1: 3.764375. I have divided my tracing into 8 parts and measured the distance the centre line is from the straight line at these points, I will scale these distances up so I can draw a full size curved centre line and derive my drawing from that. I have a horrible feeling I may be making some obvious errors but never mind, hopefully I will have some fun and learn something in the process!

Being unable to read most of the book, I wasn't not sure if the cornett length, 602.3mm, in the book is measured along the curved centre
line or along a straight line passing through the centre at each end. I
presumed it was along the straight line so my enlarged drawing may have
ended up slightly longer than the instrument I tried to copy?
I thought it would be easiest to use a graphical method of enlarging by producing a sort of scale. I have set my dividers to a 'bit' over 37.5 mm from my steel rule. I have drawn some vertical lines 10 mm apart on my paper

I am going to step off with my dividers to make a diagonal line which I will use to scale my measurements up

Second step

Here I am measuring on the tracing the distance the centre line is from a straight line drawn through the centre of the ends.

I transfered these measurements to the bottom line of my scale ( I could have used dividers to transfer the measurements directly to reduce adding measurement errors but doubt it will affect my already approximate method) I projected these up to the diagonal line to get the scaled up measurement

I confirmed my division with my trusty calculator and also used it to check my graphical scaling up and the results were, happily, quite close.

7th of November (Just after midnight)
Scaling things up
Here I am dividing the length of the actual size cornet into eight parts. I set the dividers using a ruler to a near value I had calculated and stepped it along the line and came out a little short so I opened the dividers a small amount and re-stepped along the line and this time it landed pretty much on the end of the line after eight steps

I marked the divider steps with a pencil and here I am using a sets square, sliding it along my long rule, to draw perpendicular lines at each of the points marked along the line

I used the measurements from my calculations to get points on each of the perpendiculars to show the path of the scaled up cornett centre line. I then drew a curve between these points to get a full centre line

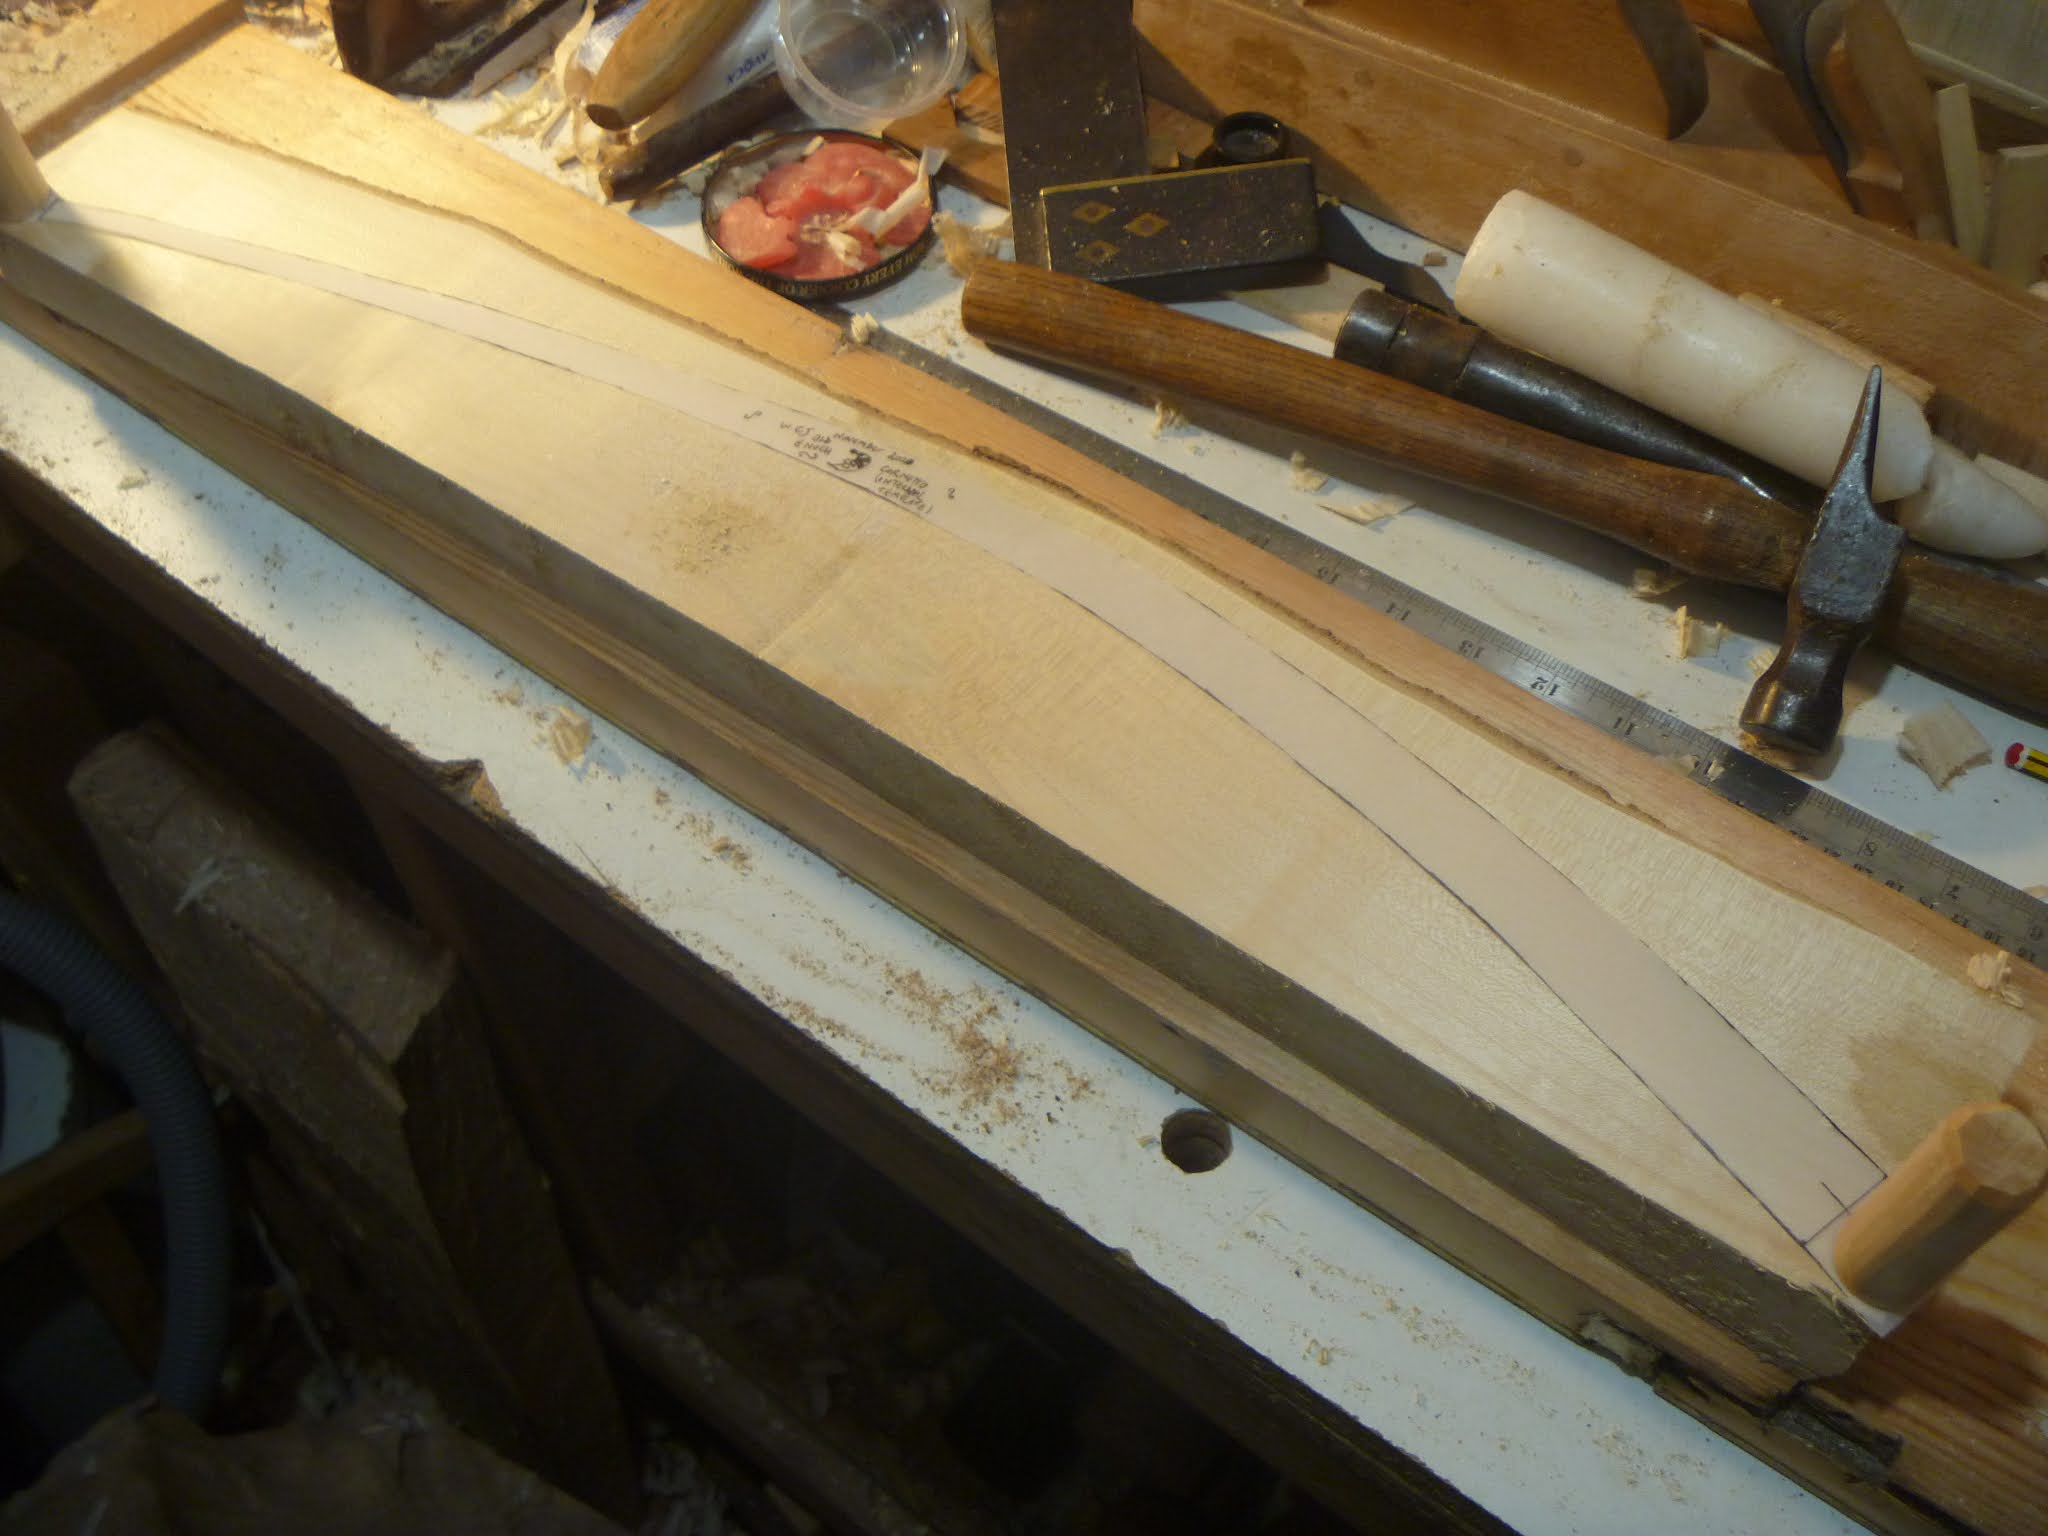
The book I have gives internal and external measurements at 10mm intervals along the whole cornet, I started off marking these mesurements along my centre line and soon decided that I would mark them off every 50mm to get my working drawing showing the cornett cross section

Here I am joining the marks to get my cornett drawing

My drawing and working out. I am still not sure that the way I have decided to measure the overall length of my cornett is the same as that used to get the measurements found in my book but have decided to make my cornett a little longer and try to test it before drilling any tone holes and then adjusting the length accordingly to try to aim for a G cornett at modern concert pitch?

8th of November (After midnight)
I traced my drawing to make a template of the inside, here I am in the process of cutting it out

The internal template placed on a piece of sycamore that hopefully should be big enough. This sycamore is part of the log that, a few years ago, when resting after sawing it down its length I dropped a half on my foot and broke my big toe

Trimming the crooked end of the wood so it can be planed against the stop on my shooting board

Planing the saw marks off

9th of November (After midnight)
Planing the wood flat. I am trying to remove as little material as possible as the piece of wood hasn't got much extra thickness

Here I am assessing the wood with my internal template, I think it should be big enough
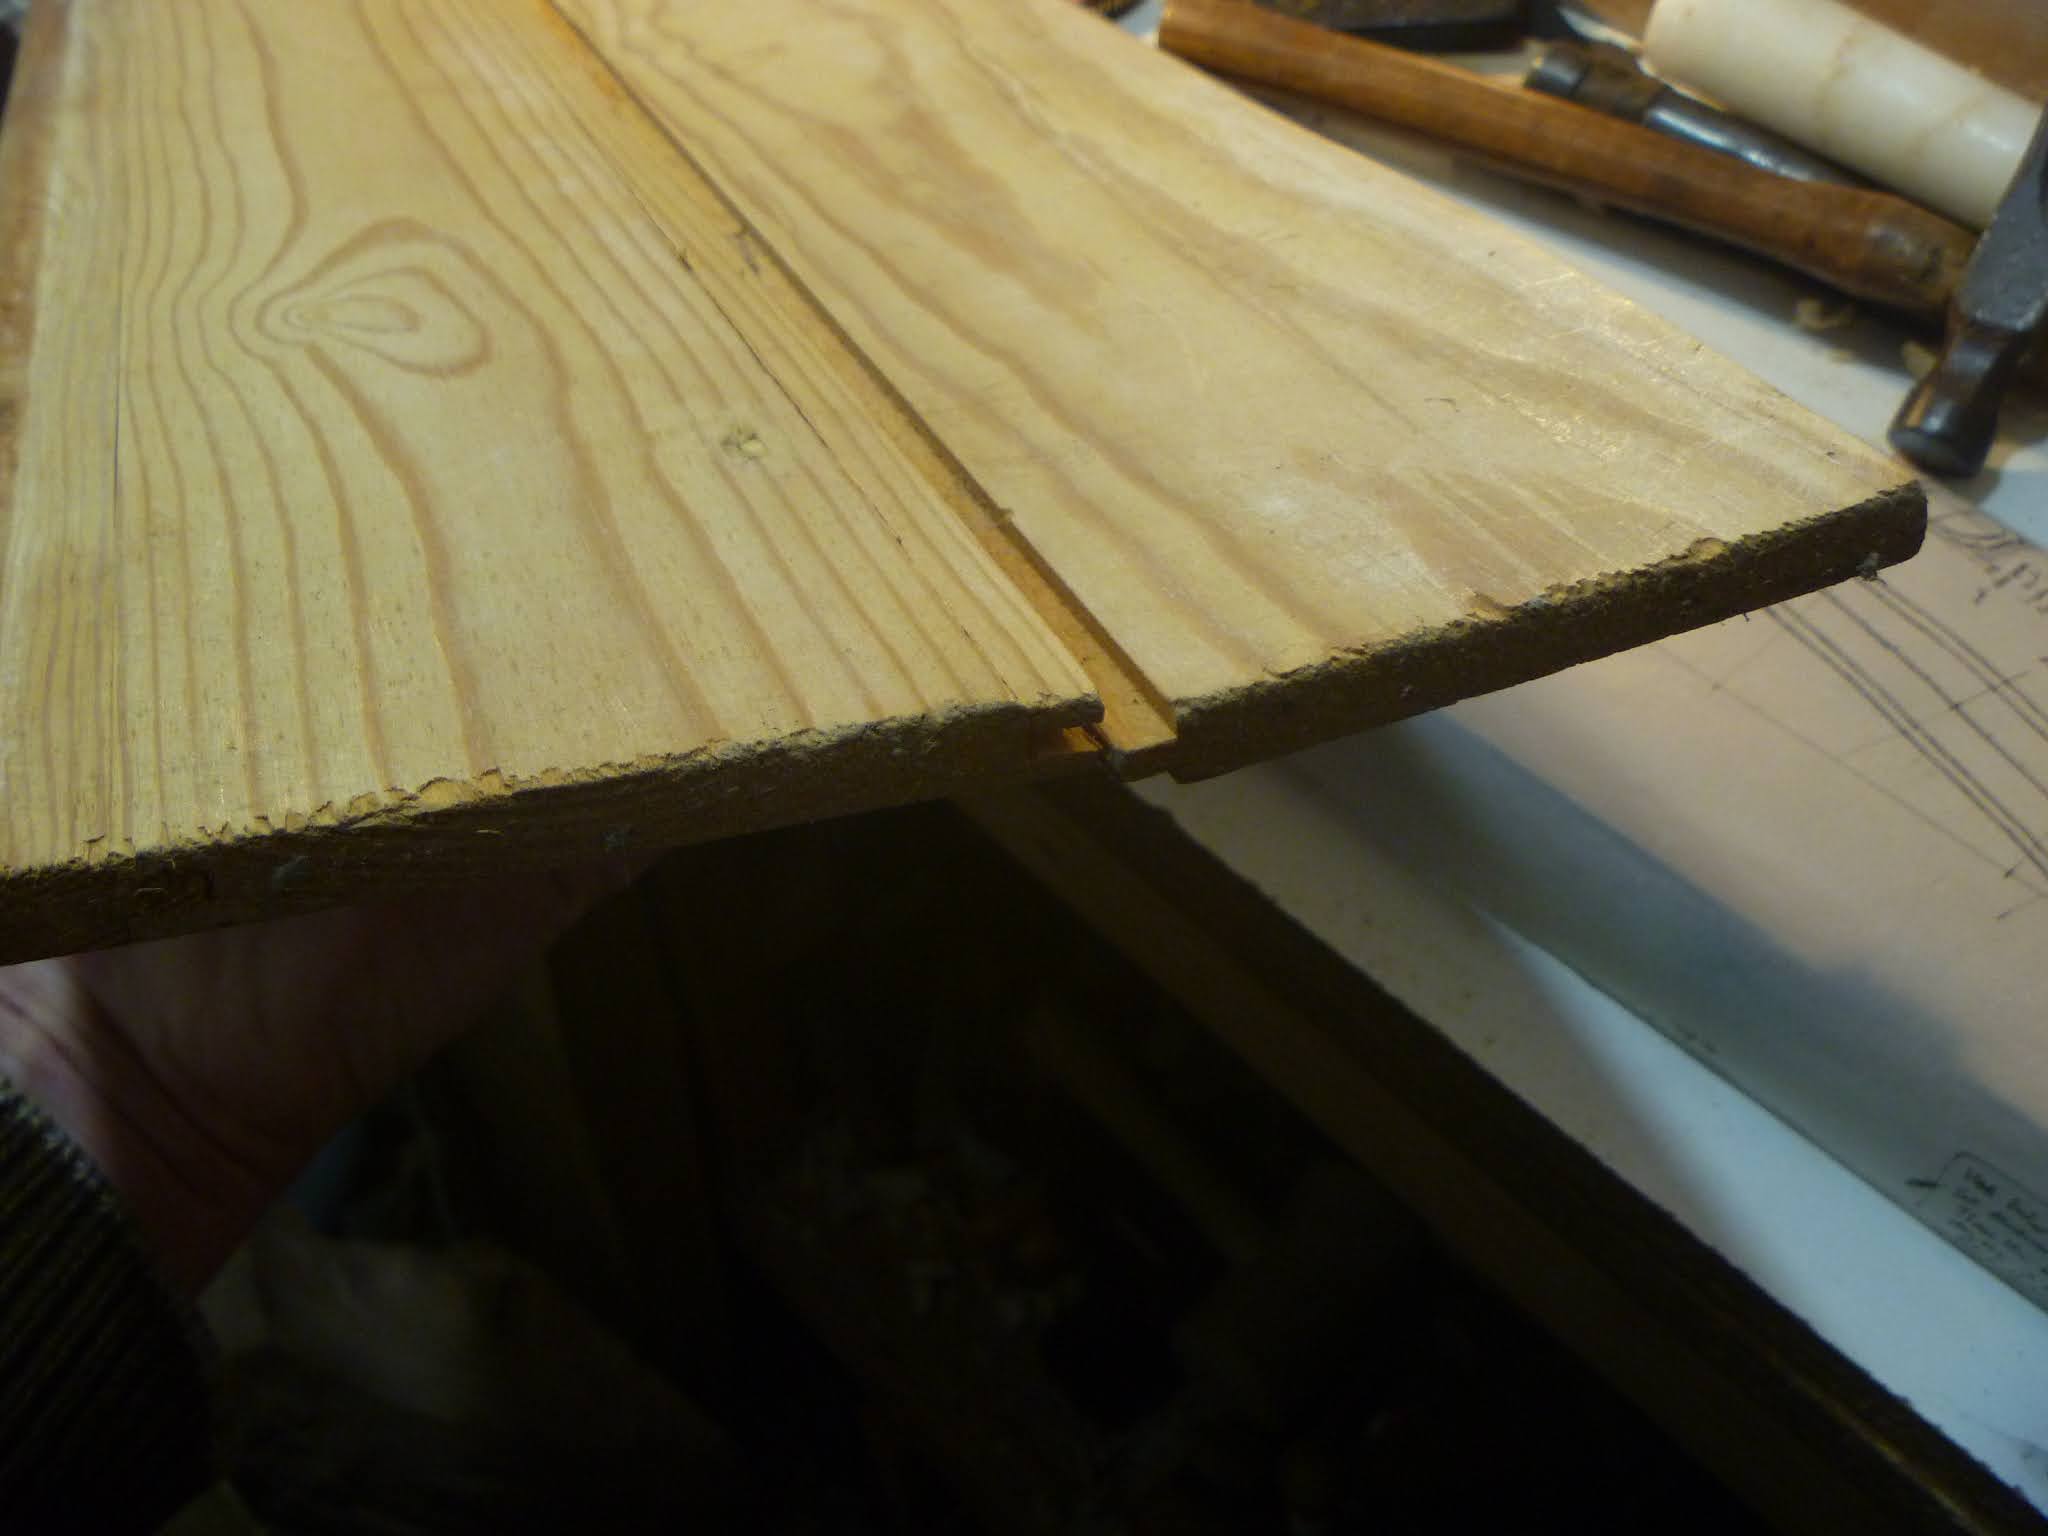
When thinking about how the cornett will be made - the wood is sawn down the middle the bore is carved in each side before being then glued back together - I realised that a flimsy paper template couldn't really be used to give the accuracy needed to ensure the two half bores were exactly the same shape. I found some thin wood - old door panels I salvaged from a place that used to strip the paint off old doors and, I presume, put glass in place of the upper panels - which I thought would do for a more rigid template

Here the tongue and groove joint of the old door panel can be seen.
Planing the remains of the paint off the piece of door panel

Planing the surface nice and smooth

Carefully drawing around my paper template

Ready to saw

When using my quite coarsely toothed bow saw I was careful not to flex and break the template. In my tiny workshop doing this type of thing can be a bit of a struggle in the confined space

The wood proved to be quite strong and survived the sawing ordeal

I then used a spokeshave and rasp to refine the template

Nearly there!
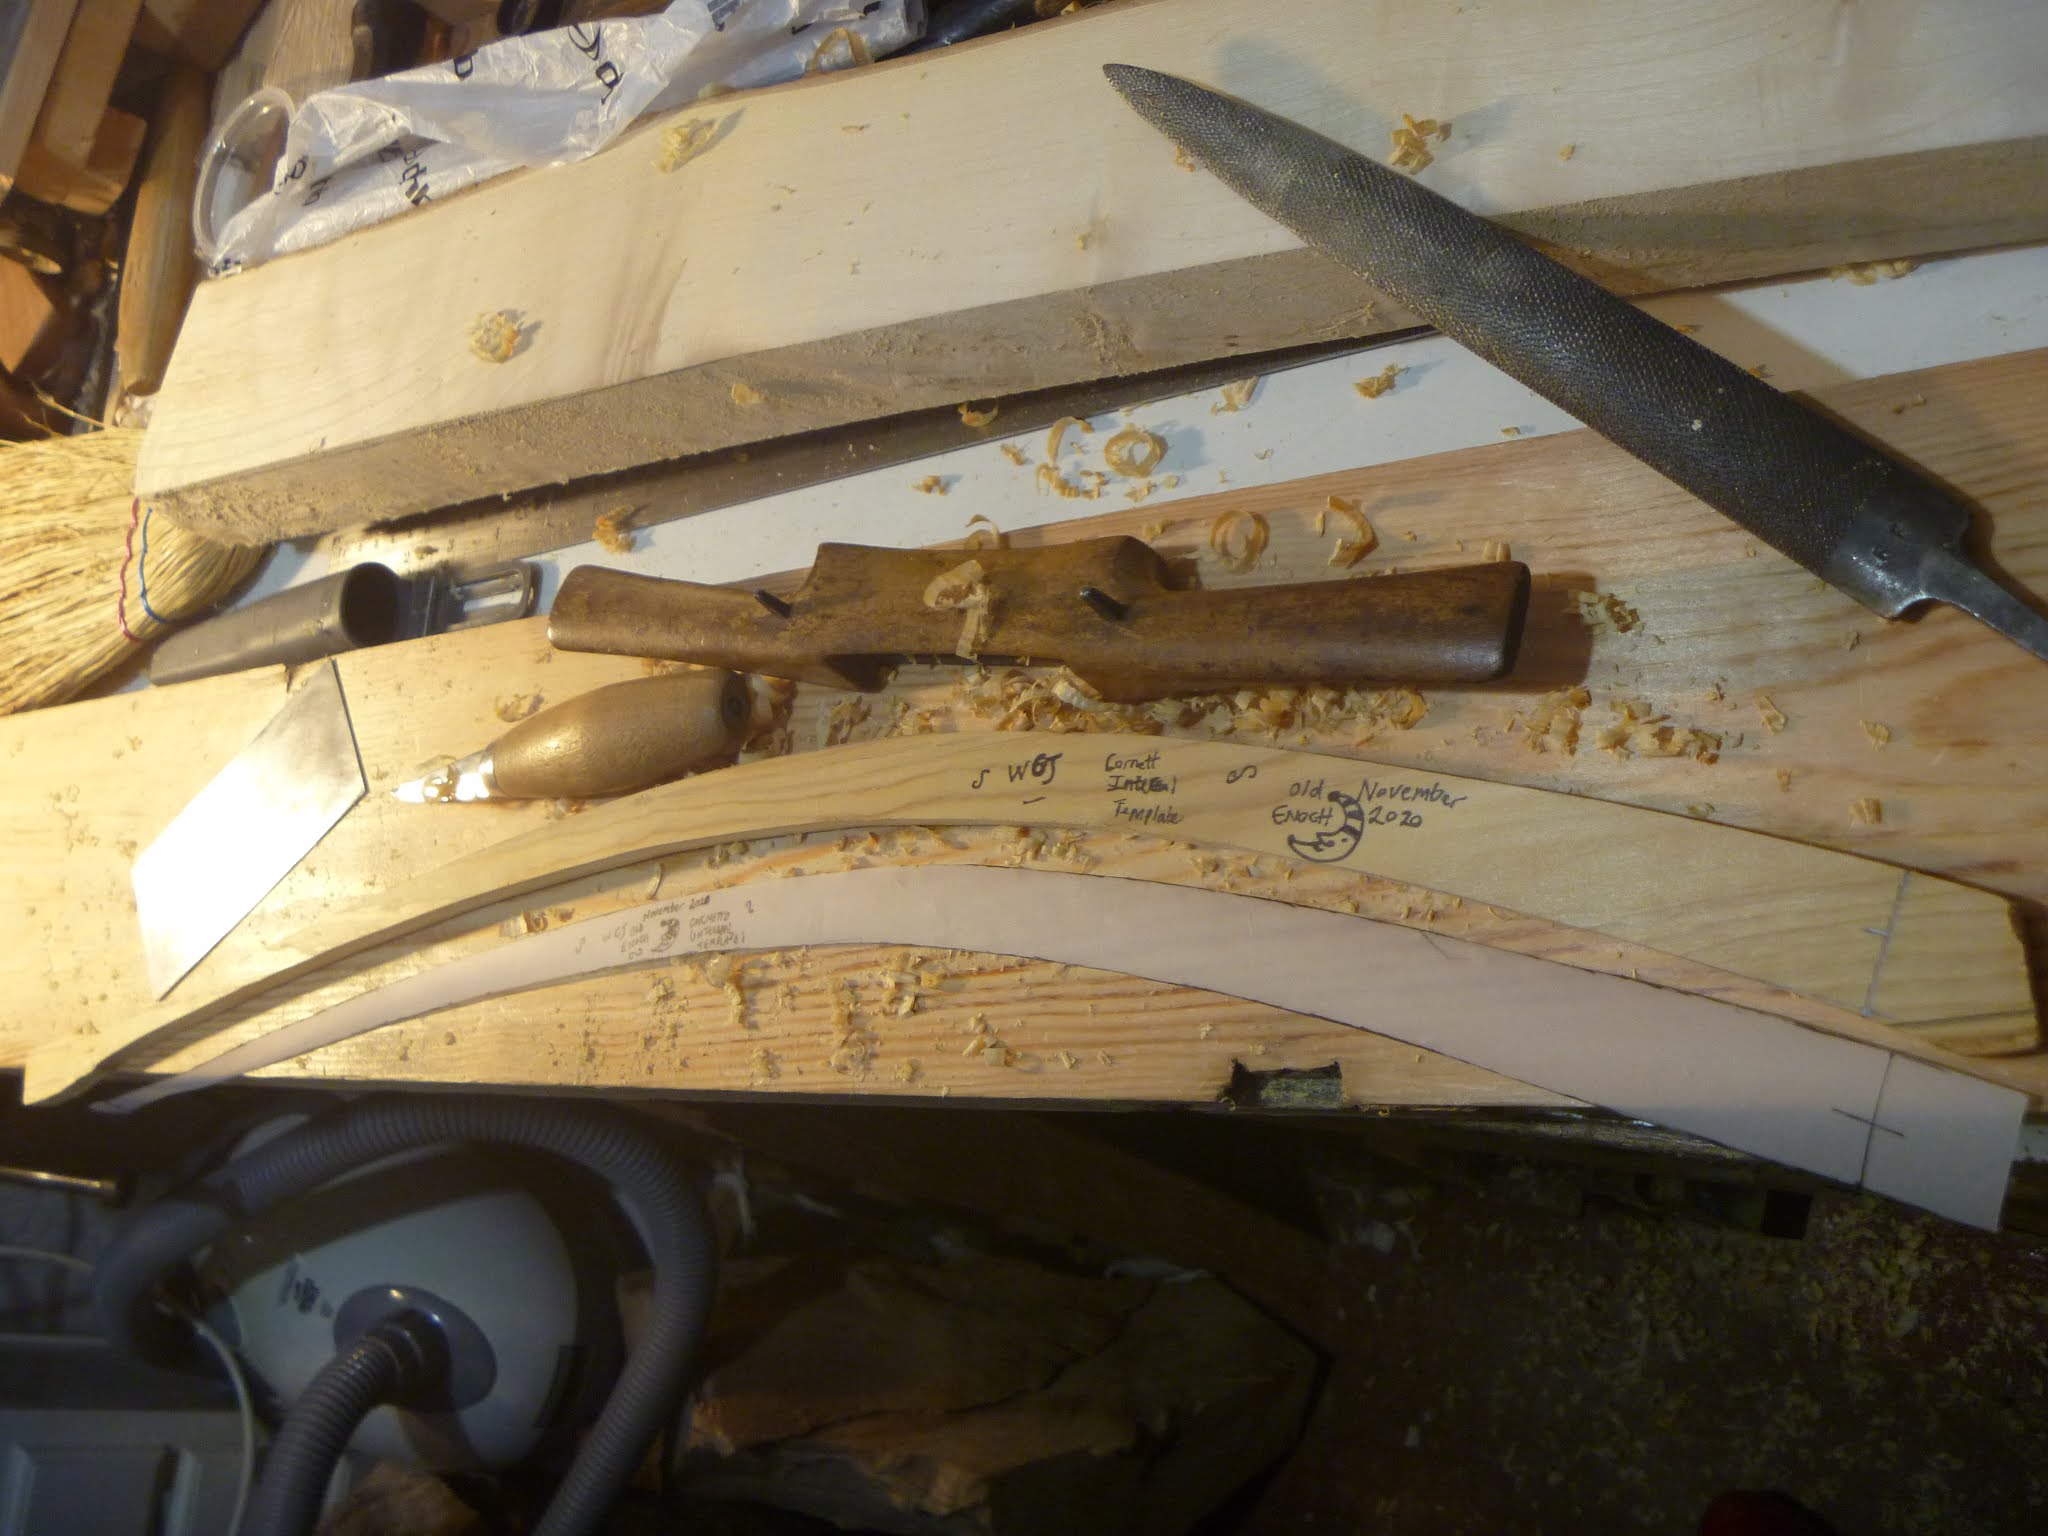
The nearly finished template is around 3/8" thick I think I will try to carefully plane it down to 1/4"

27th of November
Attempting to make Cheese glue

If this doesn't work at least I enjoyed eating a few lumps of nice cheese! I foolishly bought full fat and it tasted really nice.

Theophilus tell us to rinse the cheese with hot water and pour the water away and repeat until the water runs clear so I used hot water. Lady Samin warns against using water that's too hot as it can weaken the glue as it breaks down proteins. I hope I haven't spoiled my glue! Also she writes that when the water runs clear it means very little of the fats and sugars remain - another mistake - I should have bought the fat free cheese, it was cheaper than my full fat choice. I lost a lot of my cheese washing out the fat, also I would have probably eaten less of the fat free cheese. Ah well they say you learn by your mistakes.

Pouring the first rinse of water off - very milky looking.

After a few rinses, the water is now much clearer

I think I may have washed it a bit too much and have lost a lot of material

After the rinsing with warm water is completed cold water is poured onto the remaining solids to help to congeal and harden them

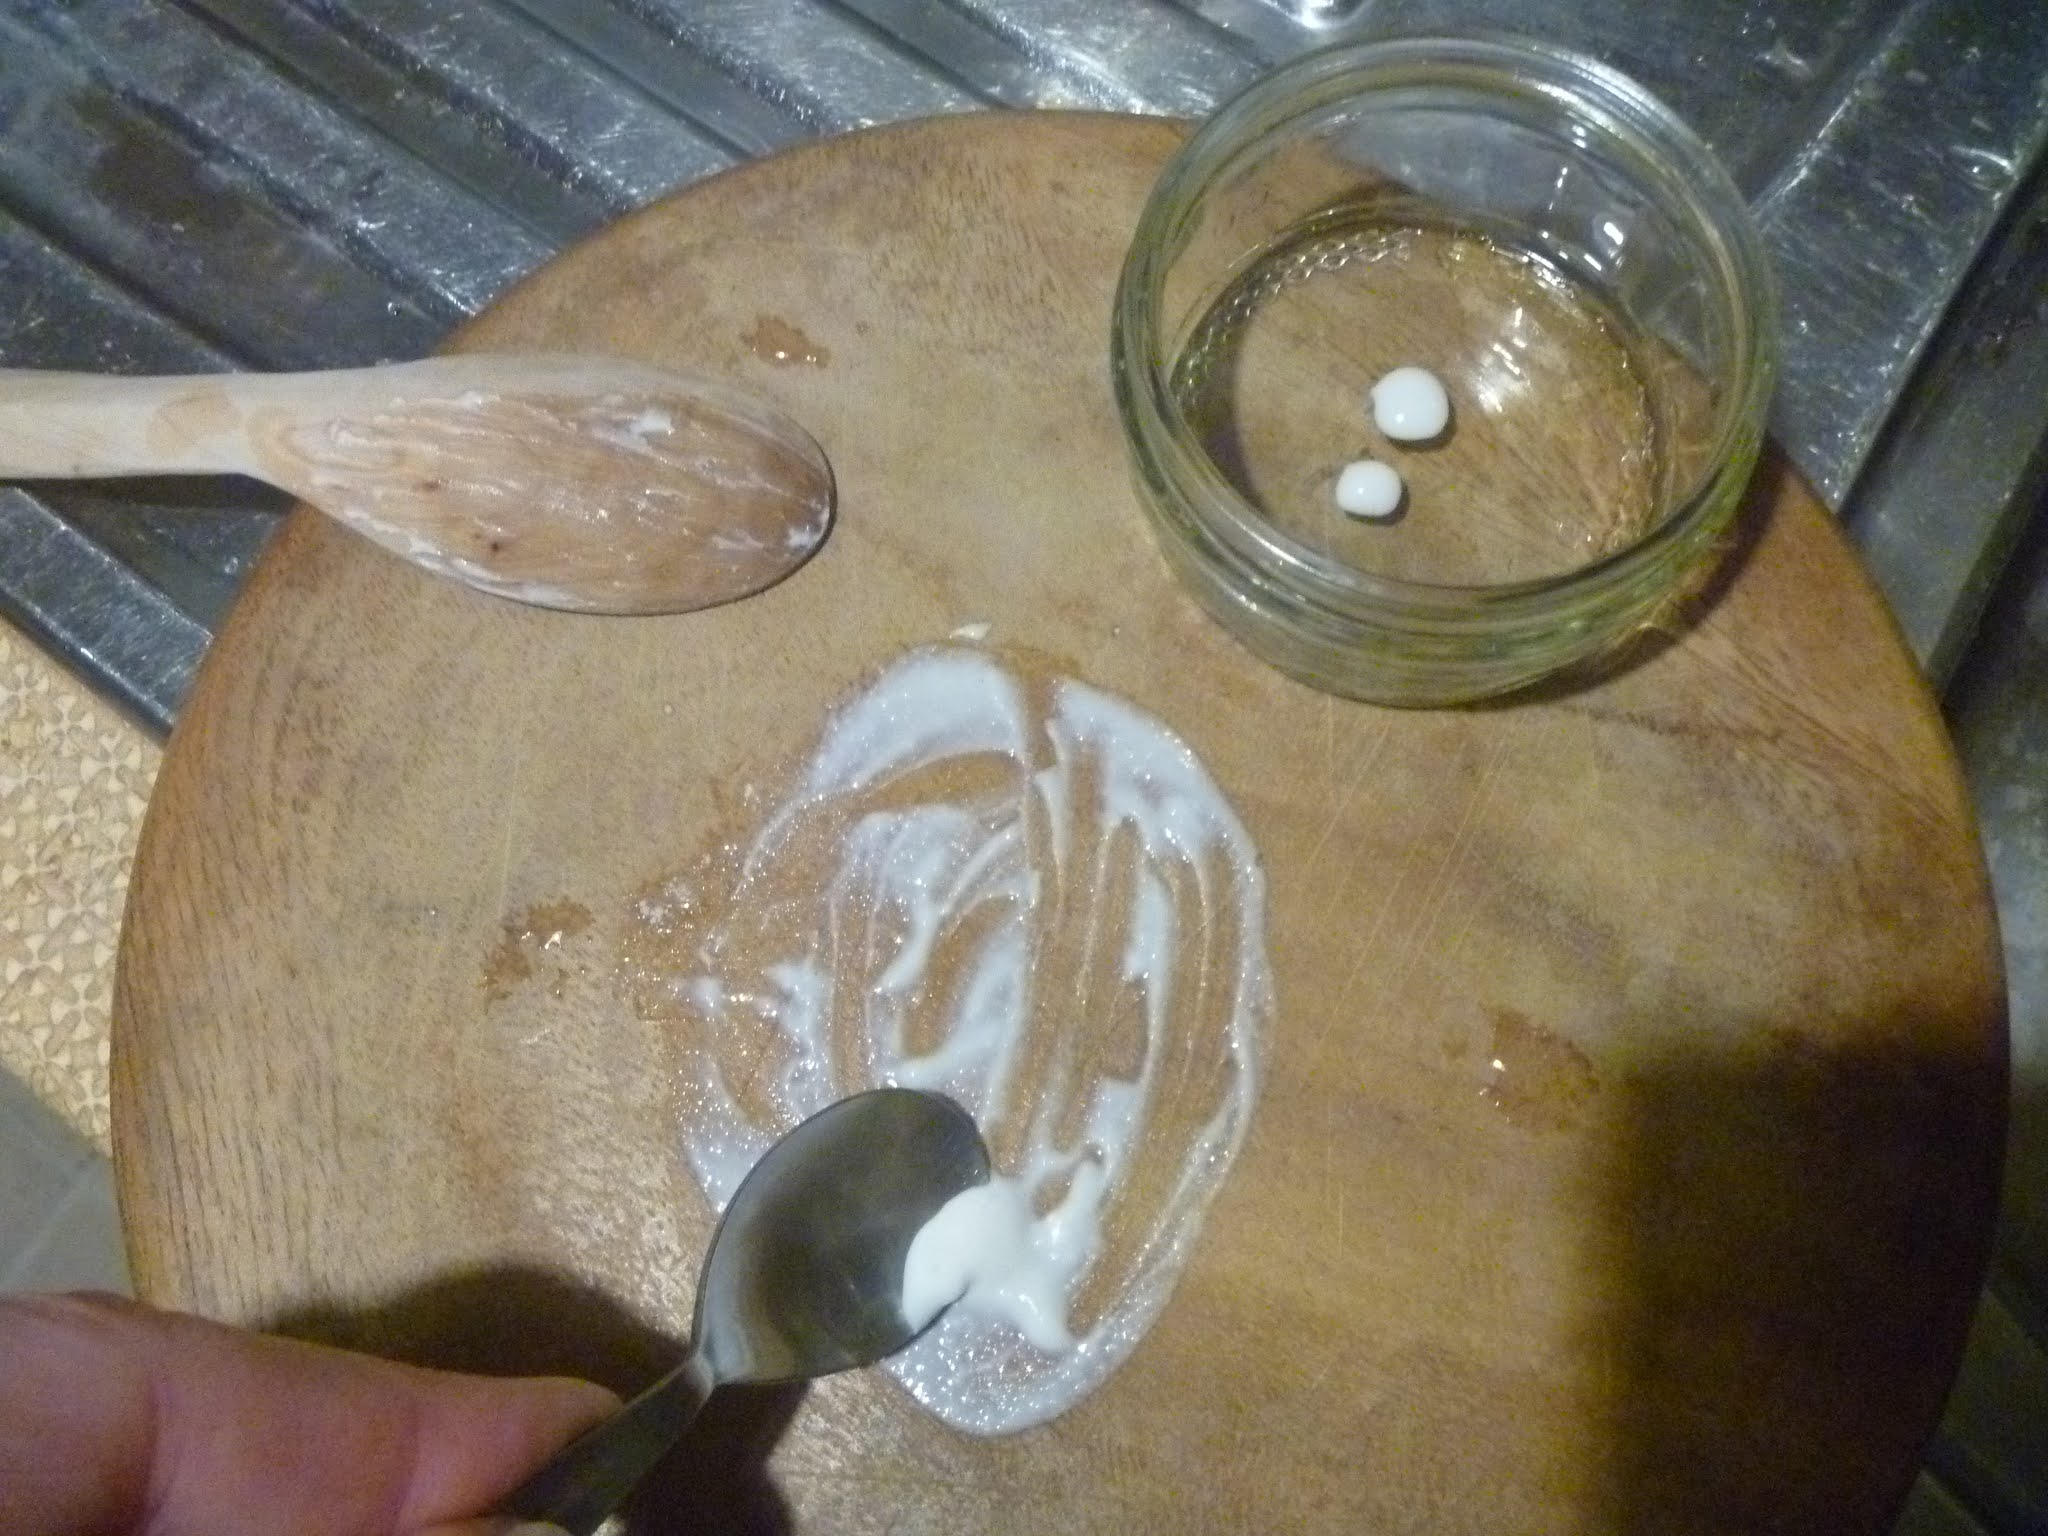
Now, a suitable alkalai can be mixed in to make your cheese glue but it has to be used within an hour or so. (Theophilus uses Quicklime/ burntlime (Calcium Oxide) but I have found on the internet that Calcium Hydroxide (traditionally called Slaked Lime) can be used and is safer to use than Quicklime! The pickling lime recommended by Lady Samin is calcium hydroxide)
But, here I am going to follow Lady Samin and dry the cheese residue/casein at this stage so it can be kept and used when needed so I poured the residue out onto a paper towel on a plate

I then thought it would dry better on an absobent wooden surface such as this breadboard

I then took the breadboard and cheese residue to dry next to my dehumidifier

Old post renaissance cornet- no cheese necessary!
After all that cheese washing it was time to wash an old cornet freshly arrived from ebay

With a a bit of lubrication and some new 'water key' corks, at over 120 years old it plays better than I do!

8/9th of December (around midnight)
Hard Cheese!
After leaving it for well over a week, my washed cheese is quite dry now, it seems to have reduced a lot in volume and is quite hard

I thought I would try to reduce the largish lumps to a smaller size, thinking that the smaller volume would help the dry cheese rehydrate quicker and mix better when I eventually got around to trying to make some glue. I remembered I had an old brass or bronze mortar, bought many years ago at Brick Lane market, that I could use.

Unfortunately I didn't have a pestle so here I am using a knife to create a rounded smooth surface on a sycamore peg I had made for use in my bench top.

After a short while I wasn't having much effect on the cheese lumps but they were affecting the wood more than I expected

I modified the business end of my 'pestle' to a more domed profile in the hope it would concentrate the pressure on a smaller area

Some of the cheese tended to fly out of the mortar when the lumps cracked so I tried to prevent this by using my free hand to cover the opening

After a long long time and a lot of hand tiring effort I managed to grinfd a small amount into a powder

Here the dried cheese lumps can be compared with the powder. The endgrain of the wood has been worn into an interesting texture by the surprisingly tough cheese

I put some of the unground cheese lumps into a little water to see how it would rehydrate

I also put a little of my cheese powder in some water to see if it performed better

9th of December (daytime)
Happily, cheese grinding step can be omitted
Next day both cheese samples had rehydrated nicely and looked and felt soft and crumbly, like the undried washed cheese. I was quite pleased as this meant I would not have to spend time and effort with my mortar and pestle. A bit like when preparing dry hide glue for use, when I want to use my dried cheese for glue I will just have to remember to put it in some water the night before. I will store the dried cheese in my fridge in small tightly lidded jars to hopefully help slow down any deterioration/oxidation?

11th of December (just after midnight)


15th of December


16th of December (early morning)

Hello, I will add to this blog again sometime but in case anyone is interested, I have been putting my violin making experiments and other woodwork stuff here (see below) for a while
Hans Kipferle's bench (Violin Cobbler) - Contemporary Maker's Gallery - Maestronet Forums
Comments
Post a Comment